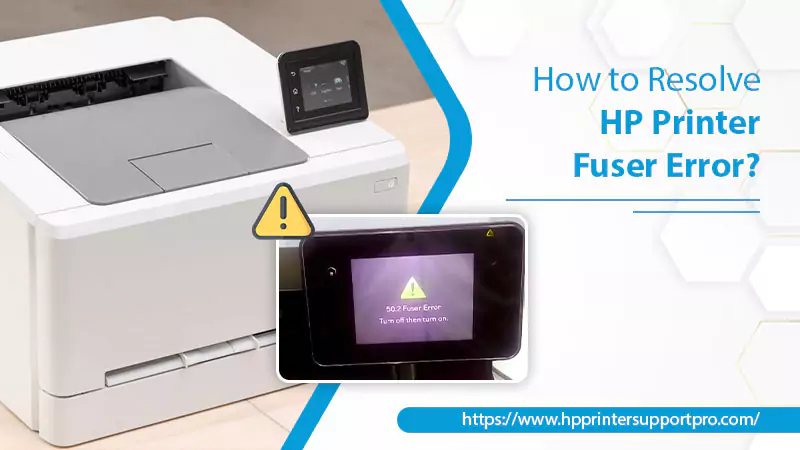
Printing technology has evolved over the years, and HP has consistently been at the forefront of this innovation. HP printers are known for their reliability and excellent performance, but they can encounter issues like all electronic devices. One such issue is the HP printer fuser error, which can be frustrating if you’re unfamiliar with the problem. But worry not! This blog will provide a thorough understanding of the reasons behind this error, the different error types, and step-by-step solutions to fix it. So, let’s dive right in.
Reasons Behind HP Printer Fuser Error
There are many factors responsible for the HP Printer Fuser error. Some of them are given below:
- Aging Fuser Unit: As the fuser unit ages, it becomes less efficient in transferring heat, leading to errors.
- Damaged Fuser Components: Malfunctioning or damaged components within the fuser can trigger errors.
- Power Supply Issues: Insufficient or inconsistent power supply can lead to fuser errors.
- Incompatible Fuser: Using a fuser not designed for your printer model can cause errors.
- Overheating: Prolonged use or a lack of proper ventilation can cause the fuser to overheat and malfunction.
- Firmware Issues: Outdated or corrupt printer firmware can result in fuser errors.
After knowing the reasons, also know the types in the following section.
Types of HP Printer Fuser Errors
The HP Printer fuser error can vary in codes. So to simplify, we present you the types with the following:
- X Fuser Error: This error indicates a problem with the fuser’s temperature control.
- 1 Fuser Error: This error signifies that the fuser is experiencing a low-temperature issue.
- 2 Fuser Error: This error implies that the fuser is encountering a warm-up service problem.
- 3 Fuser Error: This error points to the fuser exceeding its maximum temperature.
- 4 Fuser Error: This error indicates a drive circuit malfunction within the fuser.
- 9 Fuser Error: This error warns of a high-temperature issue within the fuser.
More Information:- how to take a screenshot on HP laptop
Solutions for HP Printer Fuser Error
After getting to know about the reasons and types, let’s resolve the error with the following solutions:
Solution 1: Inspect and Replace the Fuser Unit
Sometimes, the fuser unit itself may be at fault. In this case, inspect the fuser for any visible damage and replace it with a new one if necessary. To do this, the following are the means:
- Turn off the printer.
- Unplug it from the power source.
- Open the printer’s rear access door.
- Locate the fuser unit and carefully remove it.
- Inspect the fuser for any visible damage or wear.
- If required, replace the fuser unit with a new one, ensuring it is compatible with your printer model.
- Reinstall the fuser unit, close the rear access door, and plug the printer back in.
- Turn on the printer and check whether the error is resolved or not, if not then go with the next solution.
Solution 2: Check the Power Supply
Inconsistent or insufficient power supply can lead to fuser errors. Ensure that the printer is connected to a reliable power source and that the power cord is securely connected to both the printer and the power outlet. Additionally, a surge protector or an uninterruptible power supply (UPS) can help prevent power-related issues.
Solution 3: Update Printer Firmware
Outdated or corrupt firmware can cause HP Printer fuser errors. To update your printer’s firmware, the following are the steps:
- First, visit the HP Support website.
- Then, search for your printer model.
- After that. find the latest firmware update available and download it.
- Now, install the firmware update following the on-screen instructions.
- In last, restart the printer and check for the error.
Solution 4: Ensure Proper Ventilation and Cooling
Overheating can lead to HP Printer fuser errors, so it’s essential to provide proper ventilation and cooling for your printer. Following are the steps to ensure adequate airflow:
- In the first step, place the printer in a well-ventilated area, away from direct sunlight or heat sources.
- Additionally, ensure there is enough space around the printer for proper airflow.
- Regularly clean the printer’s vents and fans to remove dust and debris that can obstruct airflow.
- Allow the printer to cool down after extended periods of use before resuming printing.
Solution 5: Reset the Printer
If the above solutions do not resolve the HP Printer fuser error, resetting the printer may help. Following are the steps to perform a printer reset:
- Turn off the printer.
- Unplug it from the power source.
- Wait for at least 30 seconds.
- Reconnect the printer to the power outlet
- Turn on the printer and then check for the error.
Solution 6: Check and Replace the Fuser Assembly Cables
Damaged or loose cables connecting the fuser assembly to the printer can cause HP Printer fuser errors. To check and replace these cables, follow these steps:
- Firstly, turn off the printer.
- Secondly, unplug it from the power source.
- Open the printer’s rear access door.
- Now, locate the fuser unit and carefully remove it.
- Inspect the cables connecting the fuser to the printer for any visible damage or loose connections.
- If required, you can replace the damaged or cutted cables with new ones.
- After that, reconnect the cables securely, reinstall the fuser unit, and close the rear access door.
- Reconnect the printer to the power outlet and turn it on.
- Check if the error is resolved.
Solution 7: Clean the Fuser and Printer Interior
Dust and debris inside the printer can cause HP Printer fuser errors. Regularly cleaning the fuser and printer interior can help prevent these issues. To clean the fuser and printer, the following are the steps:
- First, turn off the printer.
- Then, unplug it from the power source.
- Open the printer’s rear access door and remove the fuser unit carefully.
- After that, use a soft, lint-free cloth to gently clean the fuser’s surface and rollers.
- With the fuser removed, use a soft brush or cloth to clean the printer’s interior, removing any dust and debris.
- Reinstall the fuser unit, close the rear access door, and plug the printer back in.
- Turn on the printer.
- Check for the error.
Solution 8: Verify the Fuser Installation
If you recently replaced the fuser, the fuser error may be due to improper installation. To verify the fuser installation, go with the following steps:
- Turn off the printer.
- Unplug it from the power source.
- Open the printer’s rear access door.
- Locate the fuser unit and carefully remove it.
- Verify that the fuser is the correct model for your printer and check for any visible damage.
- Ensure the fuser unit is properly seated and aligned within the printer.
- Reinstall the fuser unit, close the rear access door, and plug the printer back in.
- Turn on the printer.
- Check for the error.
Solution 9: Perform a Cold Reset
Performing a cold reset on your printer can help resolve HP Printer fuser errors by restoring the printer to its factory settings. To perform a cold reset, go with the following steps:
- Turn off the printer.
- Then, press and hold the ‘Go’ or ‘Online’ button (depending on your printer model) while turning the printer on.
- Now, hold the button until the control panel displays ‘Cold Reset’ or ‘Restoring Factory Settings.’
- After that, release the button and allow the printer to complete the reset process.
- Once the reset is complete, the printer should restart automatically. If it doesn’t, manually turn it off and on.
- Lastly, check if the error is resolved.
Solution 10: Adjust the Fuser Temperature Settings
If the HP Printer fuser error persists, adjusting the fuser temperature settings in the printer’s control panel may help. To adjust the fuser temperature, you can adapt the following steps:
- Navigate to your printer’s control panel and access the menu.
- Locate and select the ‘Print Quality’ or ‘Fuser Temperature’ settings (depending on your printer model).
- Adjust the temperature settings according to your printer’s specifications and the media you use.
- Save the settings and exit the menu.
- Restart the printer.
Conclusion
HP printer fuser errors can be frustrating, but you can quickly resolve them with the right knowledge and troubleshooting steps. This blog has provided an overview of the common reasons behind fuser errors, the different error types, and step-by-step solutions to fix them. By following these suggestions, you should be able to address the issue and get your printer back up and running in no time. Remember, it’s essential to maintain your printer regularly and keep it up-to-date to prevent future issues and ensure optimal performance.