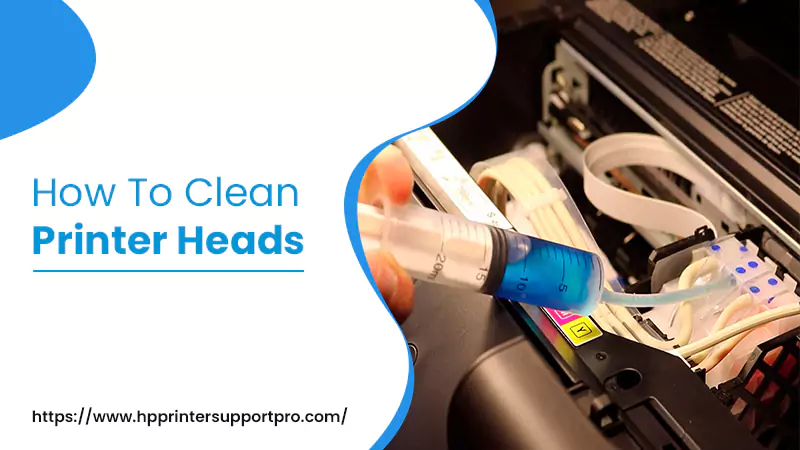
The frequency of Printing plays a vital role in getting quality printouts. Those who print regularly more often won’t experience any technical problems during printing functionality. But those who print rarely over long periods may not receive clear or quality printed documents. The delivered printed pages most probably are faded, streaked, or even blank. Though, such a problem is generally been caused by the clogged printhead. The printhead blockage problem mostly happens when the ink is dried up and hence hindrances in the ink flow. To learn How To Clean Print Heads hassle-freely, read the post carefully. We have mentioned the beneficial guidelines in order to clean the clogged printer head. Thus, stay tuned till the end!
What Is A Printhead For A Printer?
The printhead is essential printer equipment whose role is to transfer the limited amount of ink onto the page. It does this by firing small droplets of ink via different printer nozzles to produce top-rated printouts. When any of the printhead nozzles get blocked for any unknown reasons your printed pages start appearing faded or unclear. This is however a big problem; you don’t need to get your printer repaired or even purchase a new cartridge. In fact, the clogged printhead is inevitable and can be solved simply by cleaning the printer printhead. It is even though located under the cover of your printer. Thus, it can easy for you to detect whether the printhead is clogged.
How To Clean Print Heads?
You can Clean Clogged Print Heads more efficiently and smoothly just by taking a dry paper towel. Here’s what you should perform:
- First, you should take a warm damp paper towel and then slightly remove the printhead nozzles.
- Now, facing the printhead down onto the paper towel.
- Next, grip the cartridge tightly with the printer head facing down against a dry paper towel for 2-3 minutes. After doing so, a dry paper towel will soak the extra ink.
- Now, reinstall the cartridge and print a test page to check.
This is How To Clean A Print Head in an effortless manner. It is an easy and simple process and can take a few minutes only to complete.
NOTE: Do not wipe the print head or touch the electronic components otherwise they may cause damage.
Possible Methods To Clean Clogged Print Heads
If your Printhead is dusty or nozzles are congested, then this problem could lead to patchy or erroneous printing. In such a situation, you need to know How To Clean A Clogged PrintHead. If you have less technical skills and unable to it, don’t worry! We have come up with various effectual solutions to fix this issue. Let’s take a look at instructive information:
Method 1: Use Self-Cleaning on Windows
Here’s what to perform for this:
- From the bottom-left corner of the screen, click the Windows logo.
- After clicking on the Start button, type “Control Panel” in the field to search for the control panel.
- Once you see the Control Panel, place a single click on it.
- Next, open “Devices and Printers” which is in the printer-shaped icon.
- Now, place a right-click on the name of the printer that needs cleaning. You’ll find it beneath the “Printers” heading near the bottom of the page. Doing so a drop-down menu will appear.
- Now, place a single click on the “Properties” option at the bottom of the opened list. Doing so a new window will appear.
- In the next step, click the “Hardware” or “Maintenance” tab at the top of the window.
- Some printers have the self-cleaning option in a “More Options” or a “Tools” tab as well.
- Now, click the “Cleaning” option. This option generally says “Clean Heads” or “Clean Cartridges”. So, always keep an eye out for any “Clean” option on the page.
- If you can’t find this option to Clean Clogged Print Heads(or “nozzles”, or “cartridges”), consult your printer’s manual. It might be possible that your printer has not a self-cleaning option. So, through online documentation, you can solve it manually.
- Afterward, follow the on-screen prompted instructions accordingly. By following the prompted steps the clogged printhead or nozzles will be completely cleaned. Now, you can resume printing your documents.
- If your printing results are still pointing to the clogged print heads, then try cleaning manually.
Method 2: Use Self-Cleaning On MacOS
If you use your printer on MacOS, you have to skip the above one and go through the below beneficial guide. Here’s how to use Self-Cleaning on your Apple phone:
- First and foremost, tap on the Apple logo in the top-left corner of the screen. Doing so an Apple menu will appear.
- Now, from the drop-down menu, select the “System Preferences….” Option.
- Thereafter, click the “Printers & Scanners” tab which is shown in the printer-shaped icon. You can view this option at the far-right side of the System Preferences window.
- Now, choose a printer for which you want to run the self-cleaning program. Simply, give a single click on your printer from the left side of the window.
- Now, in the new pane, click “Options & Supplies….”. You’ll get this option in the middle of the window.
- In the next step, place a click on the “Utility” tab which is at the top of the page.
- Now, tap the “Open Printer Utility” tab which is in the middle of the page.
- Afterward, select the “Cleaning” option from the drop-down arrow. The location and appearance of this option may differ as per your printer model. But in general, a Head Cleaning or Cartridge Cleaning option is seen on this page.
- If you can see a drop-down box at the top of the window, then give a click on it. And then click the “Cleaning” option in the drop-down menu.
- If you can’t see a “Cleaning” option, then it is clear that your printer does not support self-cleaning. Check the printer’s manual or documentation online to validate.
- Follow on-screen guided instructions correctly. Continue clicking the prompted steps whatever appears during the cleaning process. Otherwise, your printer should clean itself, after which you can resume printing without any disruption.
- Other than that you have an option to print a test page that will ensure whether the cleaning process worked.
- If the print head is still clogged, then you should clean manually the print heads to fix the issue.
Method 3: Using Manual Cleaning
Here are the required steps you should swiftly go through in order to clean the HP Print Head. Let’s start implementing the following instructions one by one:
- Before start manually cleaning your print heads, you will have to gather the following items:
1. Isopropyl alcohol
2. Water
3. A bowl or pie tin
4. Paper towels
- Now, turn off your printer and unplug it right now. This will prevent you from damaging your printer component or hurting yourself while removing the cartridges and the printhead unit.
- Afterward, carefully remove the cartridges. To do this, first, open your printer’s main casing and thereafter take out the ink cartridges slightly one by one.
- For extracting the cartridges in an appropriate way, you should consult your printer’s manual or online documentation.
- Now, softly take out the print head unit from your printer device. This is the tray in which the cartridges sit. Give a glimpse of the several holes in the bottom of the print head unit.
- If your printer uses cartridges that have print heads on them, you are suggested to skip this step.
- Now, produce a 50/50 mixture of isopropyl alcohol and water. Take half a cup (four ounces) of each one and mix the two properly. However, the mixture shouldn’t damage the print head itself.
- Now, pour the mixture into the bowl. Keep the mixture shallow to start—you can always add more if anytime required.
- Afterward, place the print head unit in the alcohol and water mixture with full awareness.
- If your printer uses cartridges with built-in print heads, then place the cartridge in the mixture instead.
- Leave the print head alone for at least a couple of minutes. After completion of a few minutes, you can notice that the print head’s dried ink has now turned to loosen.
- After that, wipe the print head on a paper towel. Doing this will eliminate any excess moisture and simultaneously eject ink from the surface of the print head.
- Now, place back the print head unit and/or cartridges, plug back in the printer, and then turn it on.
- Print a test page to check whether you got your answer to the query How To Clean Print Heads. Your printer will probably work just like it was previously working.
If your printer still won’t print accurately, leave the print head or cartridges in the alcohol and water mixture overnight.
Obtain 24/7 Online HP Printer Support For Hands-Free Solution
Now that you better know How To Clean Print Heads. If you are struggling with poor printouts and your printhead required cleaning, the aforementioned tips help you to do it. In case, you got stuck at some point while performing the given fixing methods, you can contact HP Printer Support. Call us at 24/7 online accessible helpline number and communicate with our technical team. Your problem will be instantly solved within a pinch.