HP LASERJET P1102W gives you a simple, quick, and affordable printing experience, which is easily accessible for home and office usage. What makes it excellent is its instant-on technology feature that decreases energy consumption by up to 50%. If you’re having a difficult time setting up it, here are easy ways to set up your HP LaserJet P1102w on your Mac OS. Besides, you can take complete guidance from HP tech support team immediately. Printer experts can guide you step by step for the setup procedure when you have any issue.
How To Connect HP LaserJet P 1102W On MAC OS Using WPS?
- Check your computer system, printer, and router are turned on. You should connect your computer system to a wireless network.
- Click on the “WPS” option on your wireless router.
- On the control panel, and click on the “wireless” option. The wireless light begins to wink.
- Wait for the printing device to set up a network connection with the wireless router at any time.
- When the printing machine connects to the router, and wireless light is solid.
- Press on the “Apple” button and click on the “system reference” button.
- Click on the “printers & scanners” menu.
- Click on the name of the device and click on use or print using the box button.
- Choose the correct name of your device in the pop-up button.
- Click on the “Add” button to add the printing machine to your device.
- Finally, you should run a test print. If you have any confusion, you can call the HP Printer Tech Support team quickly.
How To Set Up HP LaserJet P1102W On MAC OS Using USB Cable?
- Turn on your printing machine and ensure that it is in the ready status.
- Plugin the USB cord to the back of the printing device and your MAC OS.
- When your printing device is compatible with your MAC, the pop-up window will display on the screen automatically.
- No, wait and press on the install button to finish the installation process.
- When the installation procedure did a fresh printer has added to your preferred device in the right ways.
- Finally, you should run a test print. For any doubt, you can call the HP tech support team quickly.
How to Connect Wireless set up using USB cord?
- First of all, you have to click on the “apple” button and so click on system preferences.
- Secondly, you have to click on printers and scanners.
- Then, you have to click on open print queue and so, click on the “printer setup” button.
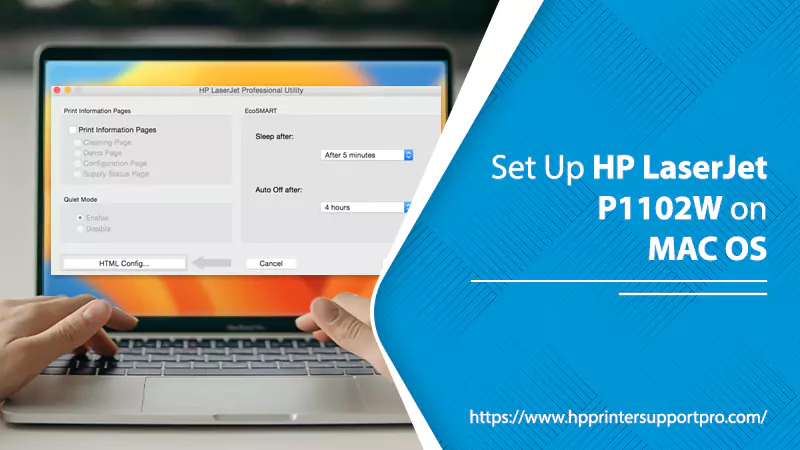
- Press on the “Utility” button and click on the open printer utility button.
- Click on “HTML” configuration option.
- Click on the networking option and so click on the “wireless” button.
- Once you come back to the wireless button under SSID to find out the name of your network in the presently available network names (SSID).
- Choose your network name and click on the menu with two left arrows to add as your present network name.
- Under the authentication field, so selects the security mode of your network, and enters your network key correctly and clicks on the “apply” button.
- Move back to the printers and scanners menu, because you can go ahead.
- Press the “+” option under close to printing devices and click on the printer’s name button.
- After that, you have to click on the “use box” button and so, choose the name of your printing device.
- Finally, you have to click on adding the wireless printer to the printing line.
After following the tips above if still, you’re facing any technical issues, you can at HP Support. HP technicians stay ready always to help their fellow users who are facing any issue with HP Printers.